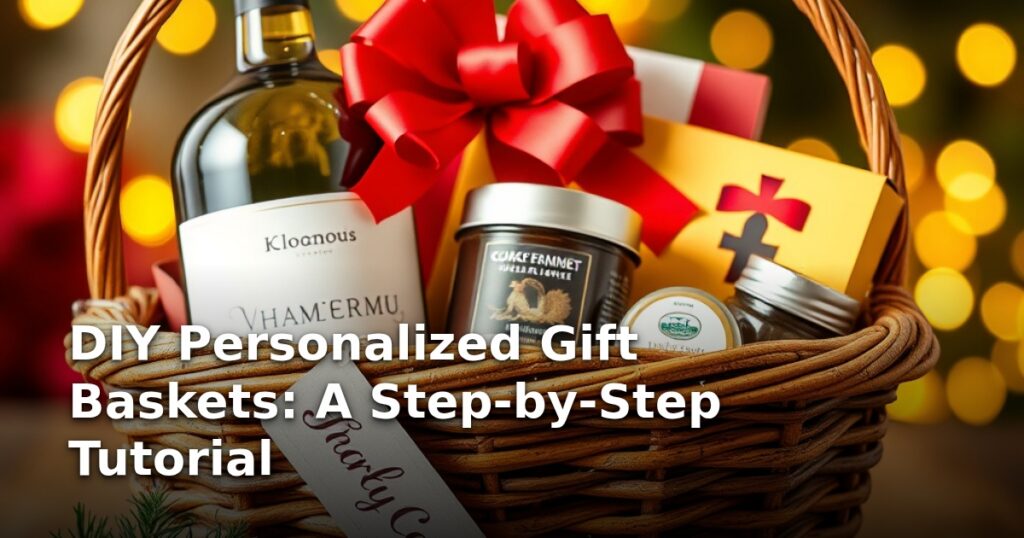
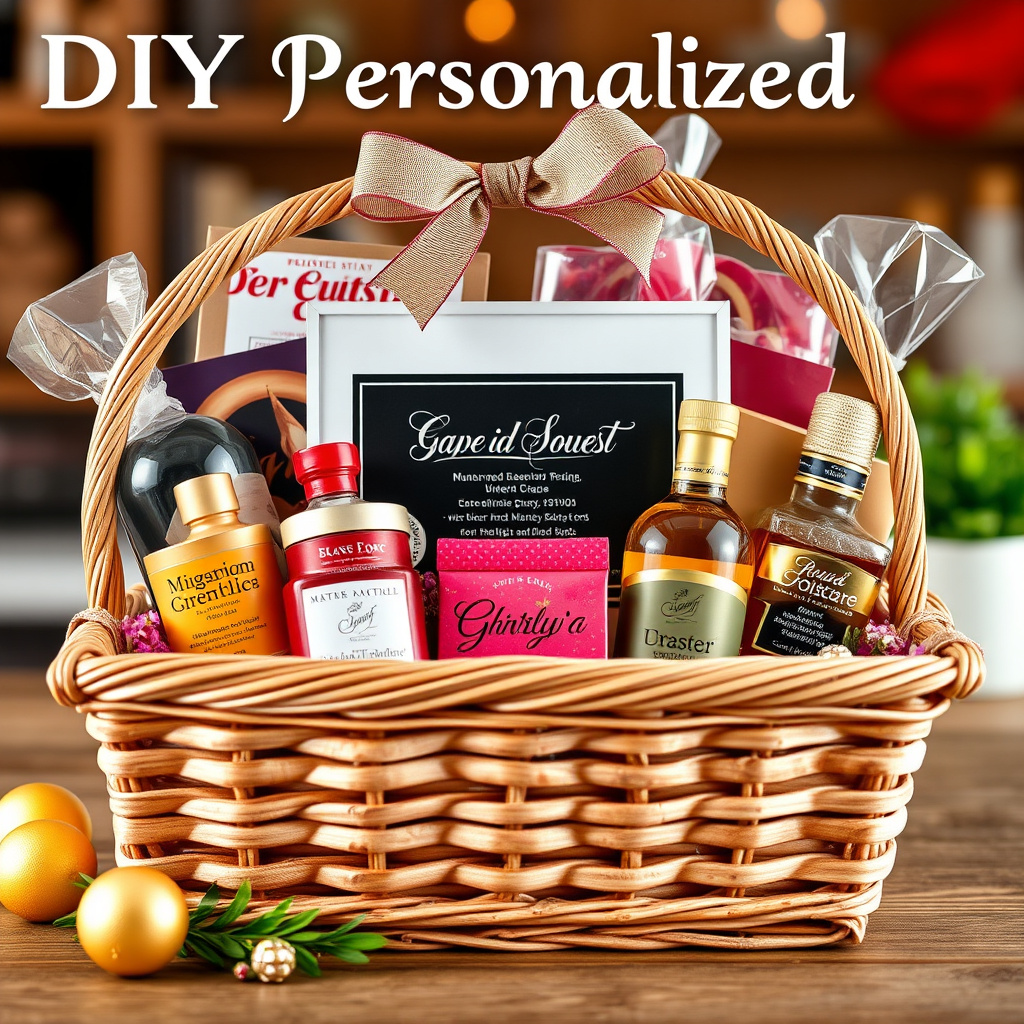
DIY Personalized Gift Baskets: A Step-by-Step Tutorial
Want to give a gift that really wows? Something that says, "I put thought and effort into this, just for you"? Then ditch the generic store-bought presents and let's talk DIY personalized gift baskets! They're surprisingly easy to create, totally customizable, and always appreciated.
Seriously, who wouldn’t love a basket filled with all their favorite things? It’s a much more personal touch than grabbing something off a shelf. And trust me, it's a lot of fun to put together.
This tutorial will guide you through the whole process, from picking the perfect theme to adding those extra special finishing touches. Let’s get started!
Finding the Perfect Theme and Filling It Up
The first step? Figuring out what your recipient loves. What are their hobbies? What makes them tick? Are they a coffee fanatic, a spa day enthusiast, or a grill master? This is where the "personalized" part really shines.
Don't overthink it, though. The best themes are often based on something simple. Here are a few ideas to get you started:
- Coffee Lover's Delight: Gourmet coffee beans, a cute mug, flavored syrups, biscotti.
- Spa Relaxation Basket: Bath bombs, scented candles, lotions, a soft towel, a face mask.
- Movie Night Magic: Popcorn, candy, a cozy blanket, a streaming service gift card.
- Gardener's Dream: Seeds, gardening tools, gloves, a watering can, plant markers.
Once you've settled on a theme, it's time to gather your goodies! Don't feel like you have to break the bank. Hit up your local dollar store, craft store, or even your own pantry. The goal is to curate a collection of items that fit the theme and reflect the recipient's taste. And remember, presentation matters!
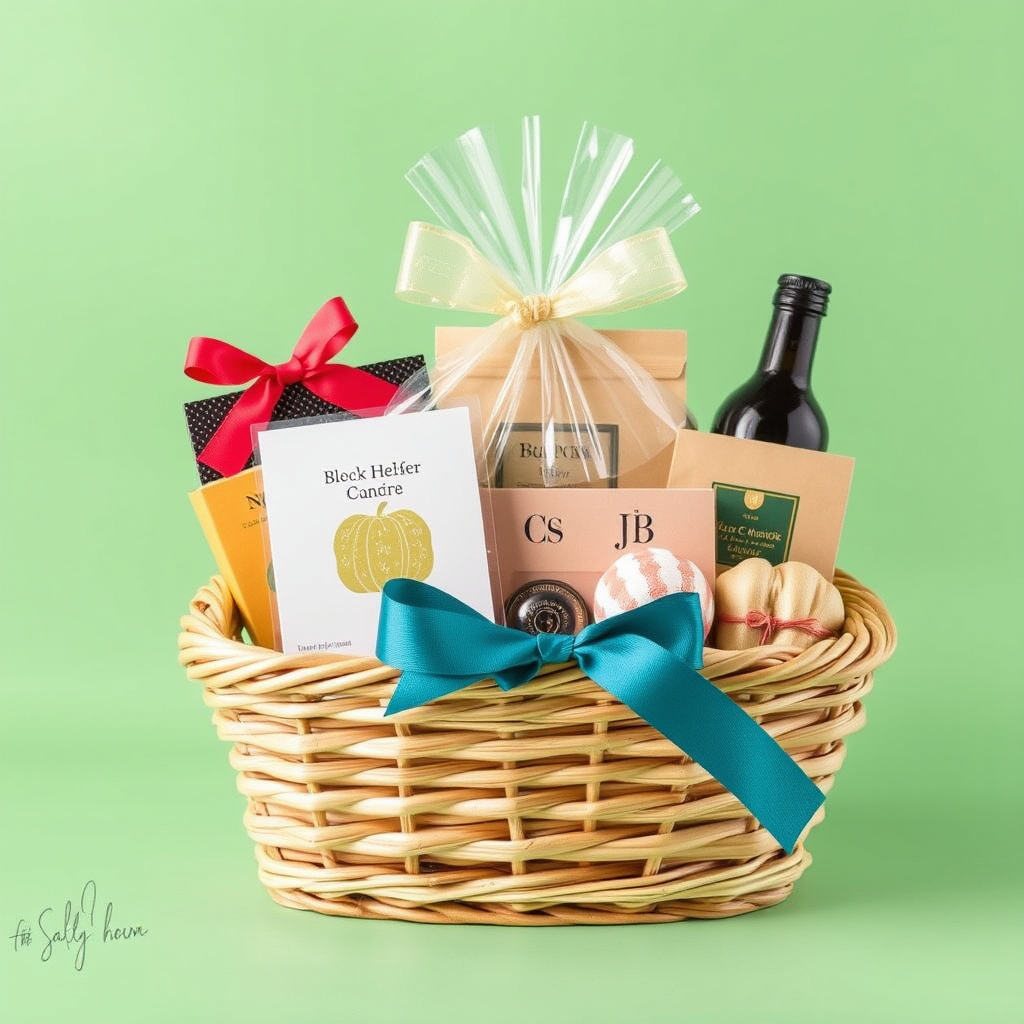
Assembling and Arranging Like a Pro
Okay, you've got your theme and your contents. Now for the fun part: putting it all together!
Start with the basket itself. You can use a traditional wicker basket, a decorative box, or even a cute tote bag. Just make sure it's sturdy enough to hold everything.
Next, add some filler to the bottom of the basket to give your items some height. Crinkle paper, tissue paper, or even a pretty scarf work great.
Now, the real trick is in the arrangement. Here are a few tips for creating a visually appealing gift basket:
- Vary the height: Place taller items in the back and shorter items in the front. This creates depth and prevents everything from looking flat.
- Create focal points: Use a few larger items to draw the eye. For example, a large candle or a fancy bottle of wine.
- Use the "rule of three": Group items in odd numbers for a more visually pleasing effect.
- Don't overcrowd: Leave some breathing room between items so they don't look cluttered.
Play around with the arrangement until you're happy with it. It's like creating a little work of art! And hey, if it doesn’t look perfect the first time, just rearrange. That's the beauty of DIY.
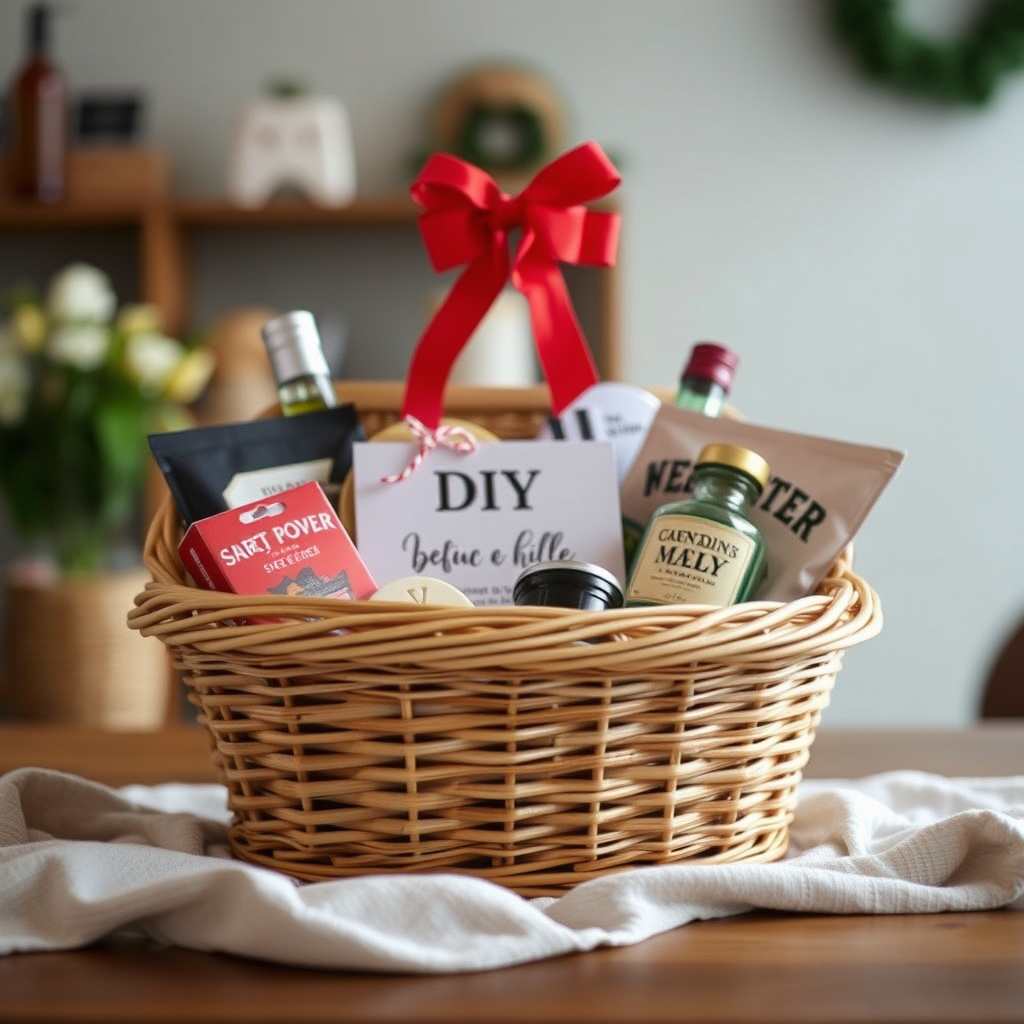
Adding Personalized Touches and Finishing with Flair
Almost there! Now it's time to add those extra special touches that will really make your DIY personalized gift basket stand out.
This is where you can get creative and tailor the basket even further to the recipient's personality. Consider adding:
- Handwritten notes or cards: A heartfelt message always adds a personal touch.
- Personalized labels or tags: Add a custom label to a jar of homemade jam or a tag with the recipient's name.
- Photos or mementos: Include a favorite photo or a small item that has special meaning.
- Ribbon or twine: Wrap a pretty ribbon or twine around the basket to tie it all together.
Once you're happy with the arrangement and the personalized touches, it's time to wrap it up (literally!). You can use cellophane wrap to protect the contents and give it a polished look. Or, for a more rustic feel, simply tie a ribbon around the basket.
There you have it! You’ve created a unique and thoughtful gift that anyone would be thrilled to receive. And it's all thanks to your creativity and a little bit of DIY magic. Remember, the best gifts are the ones that come from the heart, and these DIY personalized gift baskets definitely fit the bill. So go forth and spread some joy, one personalized basket at a time!