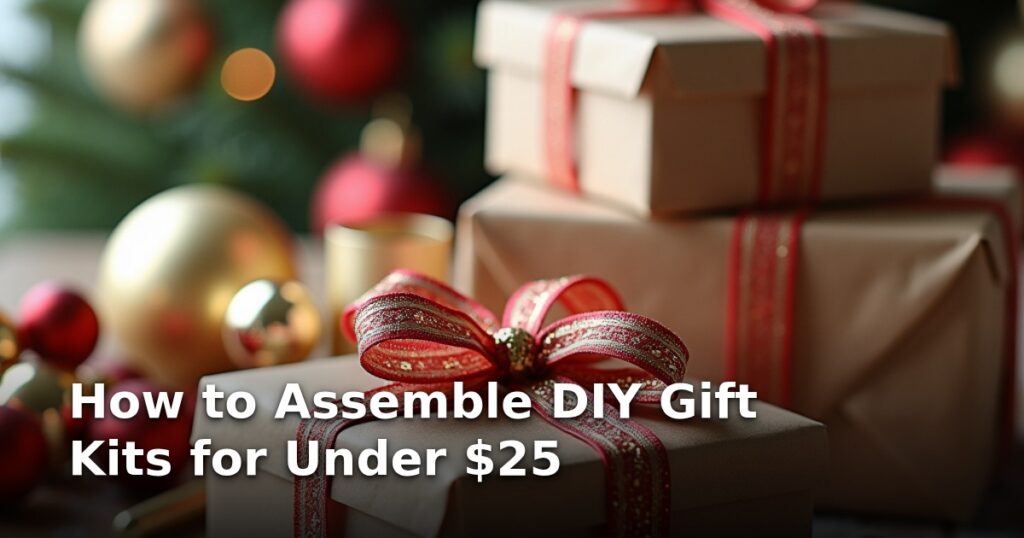
How to Assemble DIY Gift Kits for Under $25
Let’s be real: finding thoughtful, impressive gifts without draining your bank account is an Olympic sport. Whether you’re scrambling for last minute birthday gifts, need best affordable hostess gifts for an upcoming Thanksgiving gathering, or just want to give something genuinely you without the department store markup, DIY gift kits are your secret weapon. Learning how to assemble high-quality DIY gift kits for under $25 means you can deliver personalized, high-impact presents that look far more expensive than they actually were. This guide will walk you step-by-step through creating truly memorable gifts that fit any budget.
Why DIY Gift Kits Beat Store-Bought Every Time
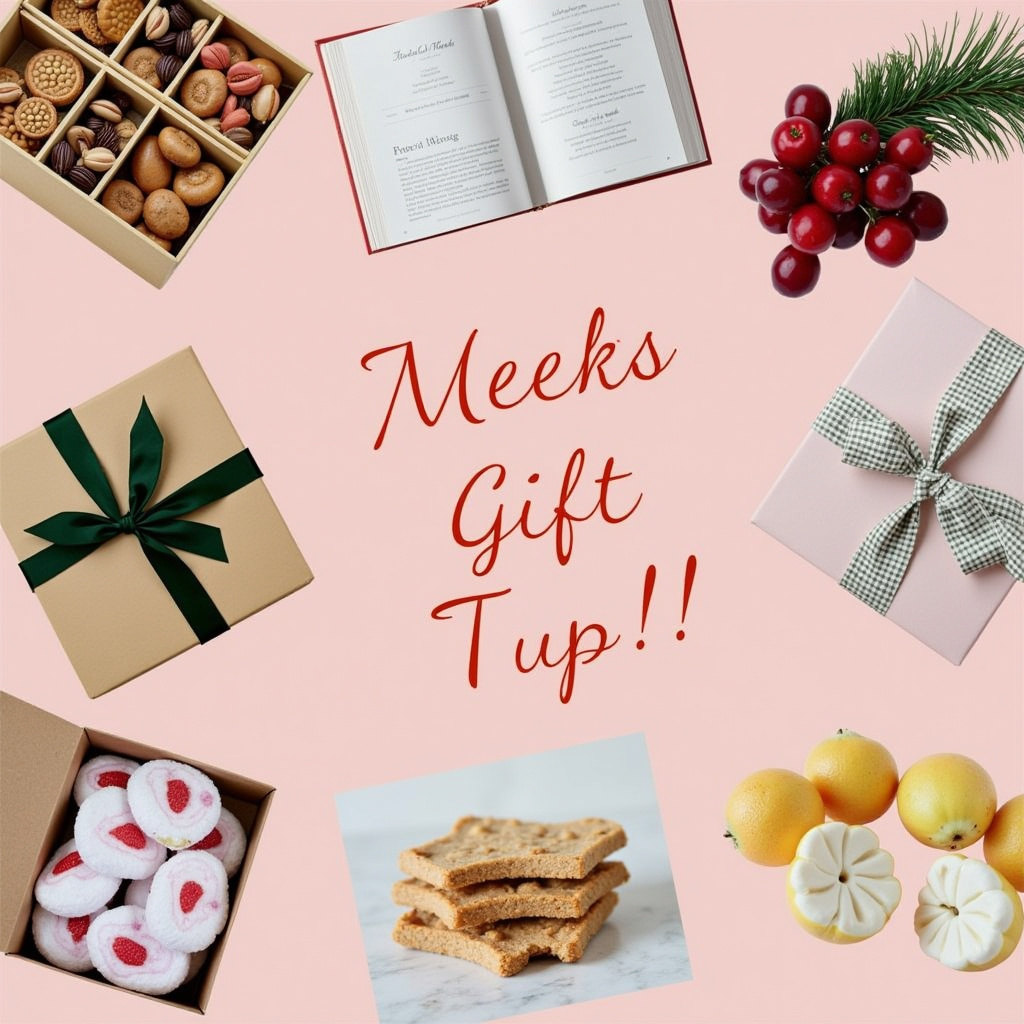
Store-bought gifts often feel impersonal. A DIY kit, however, is inherently thoughtful because you curate every single component. It transforms a simple collection of items into an experience. Imagine giving a new homeowner a "Welcome Home Brew Kit" or creating "Ultimate Cozy Night In" packages for friends. These kits are perfect for those tricky recipients—the ones who seem to have everything—offering unique presents for men who have everything or perfectly tailored thoughtful gifts for elderly parents. Plus, staying under that $25 threshold makes gifting guilt-free!
Prerequisites: What You Need Before You Start Building
Before diving into assembly, preparation is key to staying within budget. Treat this like a mission brief; knowing your resources prevents overspending later.
1. Define Your Recipient and Theme
The most crucial step is knowing who you are gifting. Is it a coffee lover, a skincare enthusiast, someone who needs relaxation, or perhaps a budding mixologist? A clear theme (e.g., "Spa Day," "Gourmet Hot Chocolate," "Desk De-Stressor") dictates your shopping list and keeps you focused on necessary components. This focus is essential for finding those perfect cheap personalized gifts.
2. Set Your Budget Hard Limit
We are aiming for under $25, but aim for $20 to leave a buffer for packaging or unexpected sales tax. Break down the budget: $15 for the core items, $5 for the container/packaging, and $5 buffer.
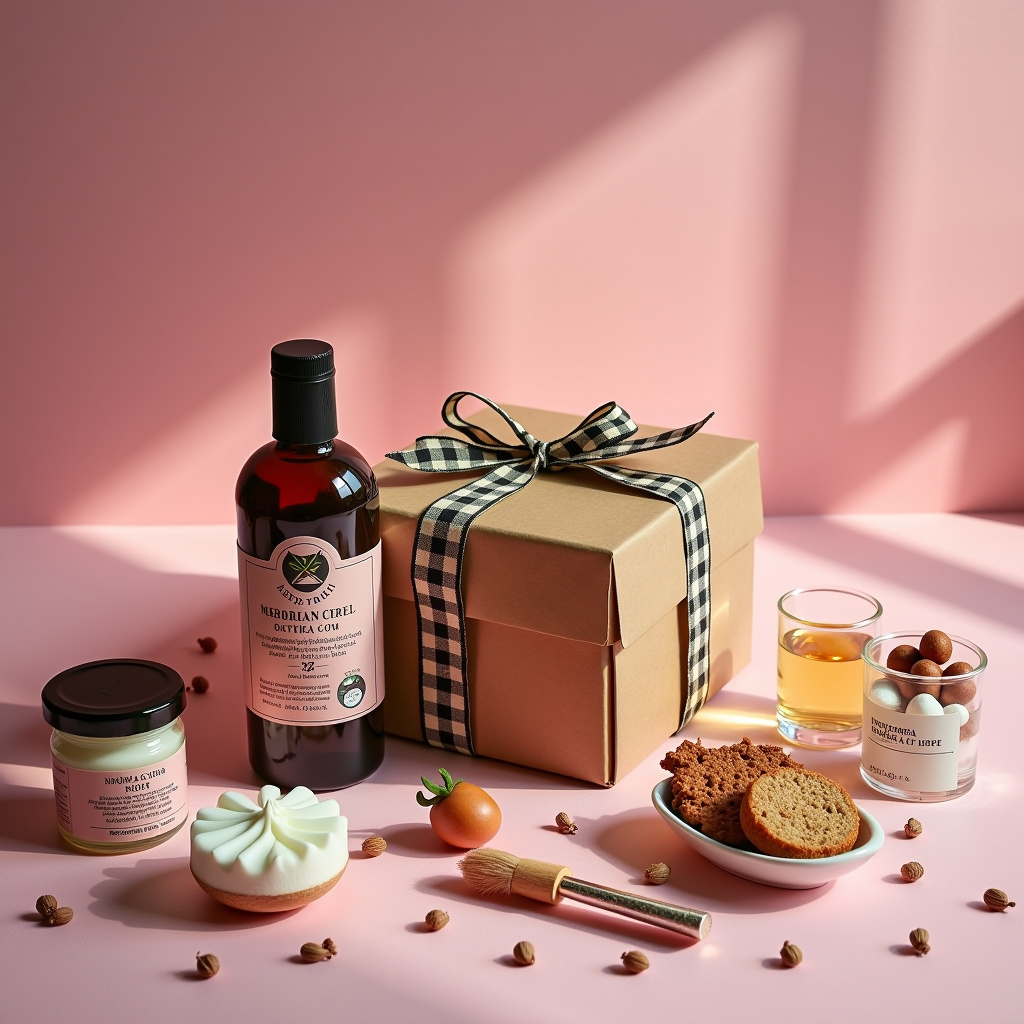
3. Source Your Containers Economically
The container is half the presentation. Skip fancy boxes. Look for:
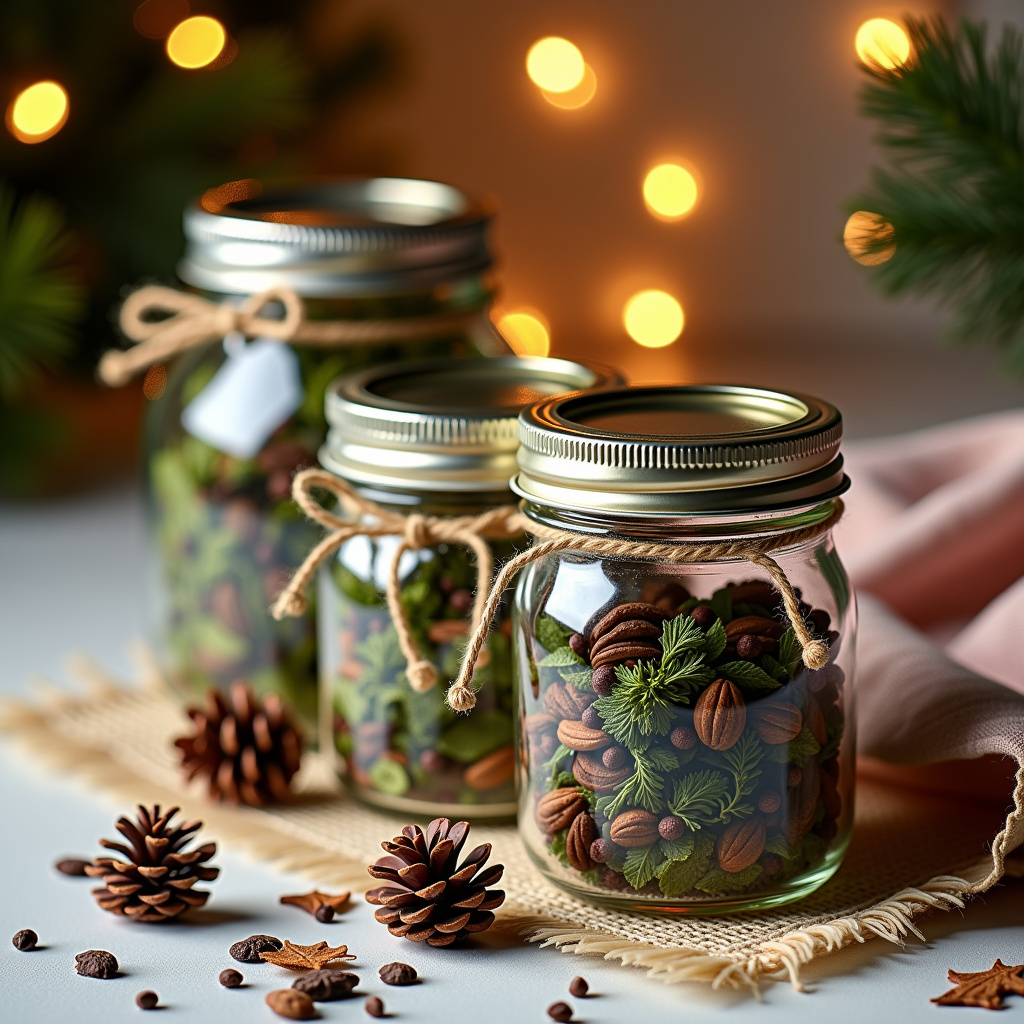
- Mason Jars: Excellent for dry mixes (soups, scrubs, cookies).
- Small Baskets or Tins: Often found cheap at dollar stores or craft stores during off-season sales.
- Reusable Fabric Bags (Muslin or Burlap): Great for a rustic feel, especially for gifts for new homeowners.
Step-by-Step Guide to Assembling Your $25 Gift Kit
Follow these seven steps to create professional-looking, budget-friendly diy gift kits.
Step 1: Identify the Core Experience (The Anchor Item)
Every great kit needs one "anchor" item that defines the experience. This should be the priciest component, taking up about 40-50% of your budget ($10-$12 max).
- Example (Relaxation Kit): A high-quality, single-use bath bomb or a small bottle of essential oil blend ($10).
- Example (Cooking Kit): A specialty spice blend or a small bag of artisanal coffee beans ($12).
If you are looking for experiential gift ideas that don't involve physical items, the anchor can be a printed voucher for a shared activity (e.g., "One Home-Cooked Dinner Night" or "Movie Night Rental Credit").
Step 2: Curate 2-3 Supporting Items
These smaller items complement the anchor and fill out the kit, keeping the cost low, usually $2-$4 each. They add perceived value and detail.
- For the Bath Bomb Kit: A small bar of handmade soap ($3) and a packet of gourmet tea ($2).
- For the Coffee Kit: A packet of flavored creamer or a small bag of gourmet marshmallows ($3).
- Pro Tip for Men: For unusual gift ideas for men, try an anchor item like a specialty hot sauce, paired with unique snack crackers or jerky.
Step 3: Source the "Filler" (The Budget Booster)
Filler items are cheap but add bulk and visual appeal. Think texture and scent. This is where you save big. These items should cost $1-$2 each.
- Ideas: Small bags of decorative candy (like Jordan almonds), wooden stirring spoons, tea bags, small packets of scented potpourri, or even nice, thick twine for tying labels.
Step 4: Prepare Your Printables and Personal Touches
This is where the personalization shines and costs virtually nothing. Design a simple, attractive label or instruction card using free online tools like Canva.
- For Recipe Kits: Print the recipe clearly on nice cardstock.
- For Spa Kits: Print instructions on how to use the items together.
- Crucial: Always include a handwritten tag. A simple "Enjoy this little moment of calm, Love, [Your Name]" makes a huge difference.
Step 5: Assemble and Layer the Contents
Presentation matters immensely when you are working with a tight budget. Layering creates depth.
- Base Layer: Place the largest item (the anchor) at the bottom of your jar or basket.
- Middle Layer: Arrange the supporting items around the anchor.
- Top Layer: Use the filler items (like crinkled tissue paper, ribbon, or small candies) to cover any gaps and add color contrast.
- Seal It: If using a jar, secure the lid tightly and tie a nice piece of twine or ribbon around the rim, attaching your personalized tag.
Step 6: Consider "Subscription Box Gifts" Inspired Themes
If you want to give a gift that lasts longer than a day, think about creating a mini subscription box gifts experience. Instead of buying one kit, buy enough components to create three small, themed kits for the recipient to use over time.
- Example: A "Three Nights of Cozy Tea" kit: one jar for Chamomile, one for Earl Grey, and one for Peppermint, all bundled together. This stretches your $25 further across multiple uses.
Step 7: Final Quality Check
Hold the finished kit. Does it look intentional? Does it clearly communicate its purpose? If you have successfully stayed under $25 while making it look cohesive, you’ve won. These kits are excellent unique experience gifts because they prompt the recipient to do something.
Common Mistakes to Avoid When Building Budget Kits
Stay sharp to ensure your hard work doesn't go to waste due to common pitfalls.
- The "Everything But The Kitchen Sink" Trap: Trying to cram too many low-quality items in. A kit with three great items looks better than a kit with ten mediocre ones. Stick to your theme!
- Ignoring Expiration Dates: If you are assembling food or bath items, ensure the components have a decent shelf life. Nobody wants musty spices or melted chocolate.
- Overspending on Packaging: That fancy wooden crate might be $15 alone! Remember, the value is inside. A clean mason jar decorated with a pretty label looks sophisticated, not cheap.
- Forgetting the Instructions: If you give someone raw ingredients for a scrub or a complex hot chocolate mix, they need clear directions. Vague kits lead to frustration, not enjoyment.
Expected Results: What Success Looks Like
Success means delivering a gift that elicits an "Oh, wow, you made this?" reaction. When you present your beautifully assembled diy gift kits, the recipient should feel seen and appreciated. You will have successfully navigated the gift-giving gauntlet, provided amazing cheap personalized gifts, and have money left over for your own coffee fund.
For those who need something immediately, mastering these techniques means you always have an impressive backup option, perfect for unexpected events or bridging the gap until payday.
Conclusion and Next Steps: Scaling Up Your Gifting Game
You now have the blueprint for creating impressive, budget-conscious gifts. Experiment with different themes—perhaps a "Gardening Starter Kit" for those with green thumbs, or a "Movie Night Survival Kit" featuring popcorn seasoning and candy.
If you find yourself with a little extra budget ($30-$40), you can elevate these concepts into fantastic experiential gift ideas. For instance, upgrade the anchor item to a small tool kit for the new homeowner or include a gift card for a local bakery instead of just the ingredients for a dessert. But for now, celebrate mastering the $25 challenge. Happy crafting!