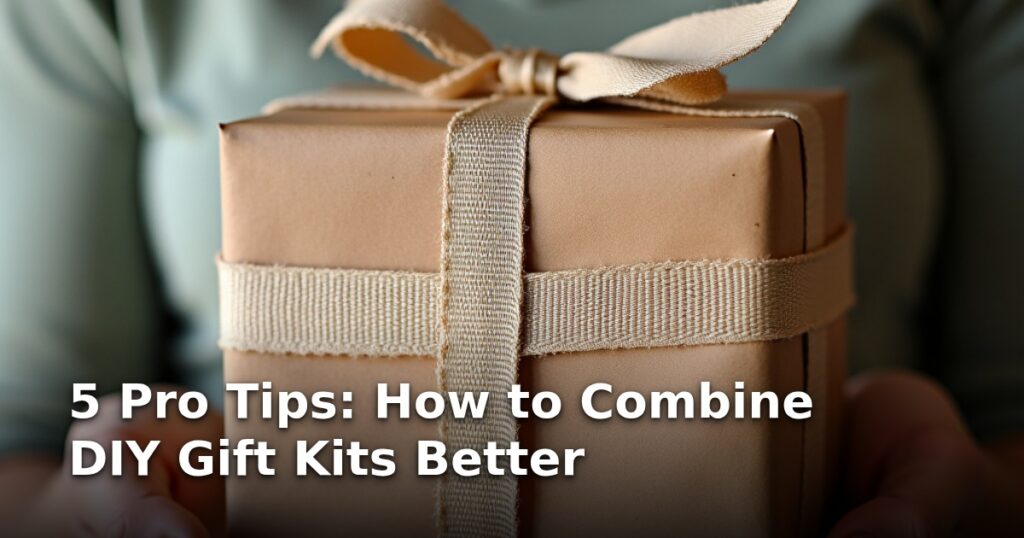
5 Pro Tips: How to Combine DIY Gift Kits Better
Let’s face it: crafting the perfect gift can sometimes feel like a high-stakes negotiation with your own budget and time constraints. That’s where the magic of DIY gift kits comes in! They hit that sweet spot between being deeply personal and surprisingly affordable. Whether you're scrambling for last minute birthday gifts or planning ahead for Thanksgiving host gifts, a well-assembled kit shows you care without emptying your wallet. But how do you level up from just throwing a few items in a basket? We’re diving into five pro tips to transform your DIY assemblies into thoughtful, unforgettable presents.
These tips will help you create kits that feel curated, not cobbled together, making them perfect for everything from cheap personalized gifts to impressive under $25 gift ideas.
Tip 1: Master the "Theme-to-Experience" Conversion
The biggest mistake people make with DIY kits is focusing only on the items rather than the experience they create. A great kit doesn't just contain ingredients; it dictates an activity.
Why It Works
People crave experiences over stuff. By packaging an experience, you give the recipient permission to relax, learn, or indulge without having to source all the components themselves. This instantly elevates your kit, making it feel like a true experiential gift idea.
How to Implement It
- Choose Your Experience First: Don't start with what you have; start with what they need to do. Examples: "A Cozy Movie Night," "The Artisan Cocktail Hour," or "Beginner Bread Baking."
- Curate for Completion: Ensure every necessary non-perishable element for that single activity is present.
Expected Results
Your kit moves from being a collection of goods to being a ready-to-use activity. This is fantastic for creating unique experience gifts that people actually use.
Pro Tip/Advanced Variation
For gifts for new homeowners, theme the kit around "The First Night Unpacked." Include high-quality tea, a nice candle, maybe a small bottle of wine, and a handwritten note saying, "Take 30 minutes just for yourselves."
Tip 2: Integrate One "Anchor" Item for High Perceived Value
Even when aiming for cheap personalized gifts, including one slightly higher-quality or more unique item can drastically increase the perceived value of the entire package.
Why It Works
The human brain tends to anchor its valuation on the most prominent item. If that anchor is excellent, the supporting items feel like thoughtful extras rather than cheap filler. This is crucial when looking for under $25 gift ideas that need to look more expensive.
How to Implement It
Identify one item that fits the recipient's specific taste or need. This could be a high-quality spice blend, a beautifully designed small notebook, or a gourmet chocolate bar. Spend 50-70% of your budget on this anchor.
- For Men: If creating unusual gift ideas for men, make the anchor a unique tool accessory or a small, high-quality leather item.
- For Hosts: For the best affordable hostess gifts, the anchor could be a locally sourced jam or a beautiful linen napkin.
Expected Results
The entire kit feels significantly more luxurious and thoughtful, even if the total cost remains low.
Pro Tip/Advanced Variation
If you are creating a diy gift kit for elderly parents, the anchor item might be something purely sensory—like a particularly fragrant hand cream or a small, beautiful picture frame—rather than something purely functional.
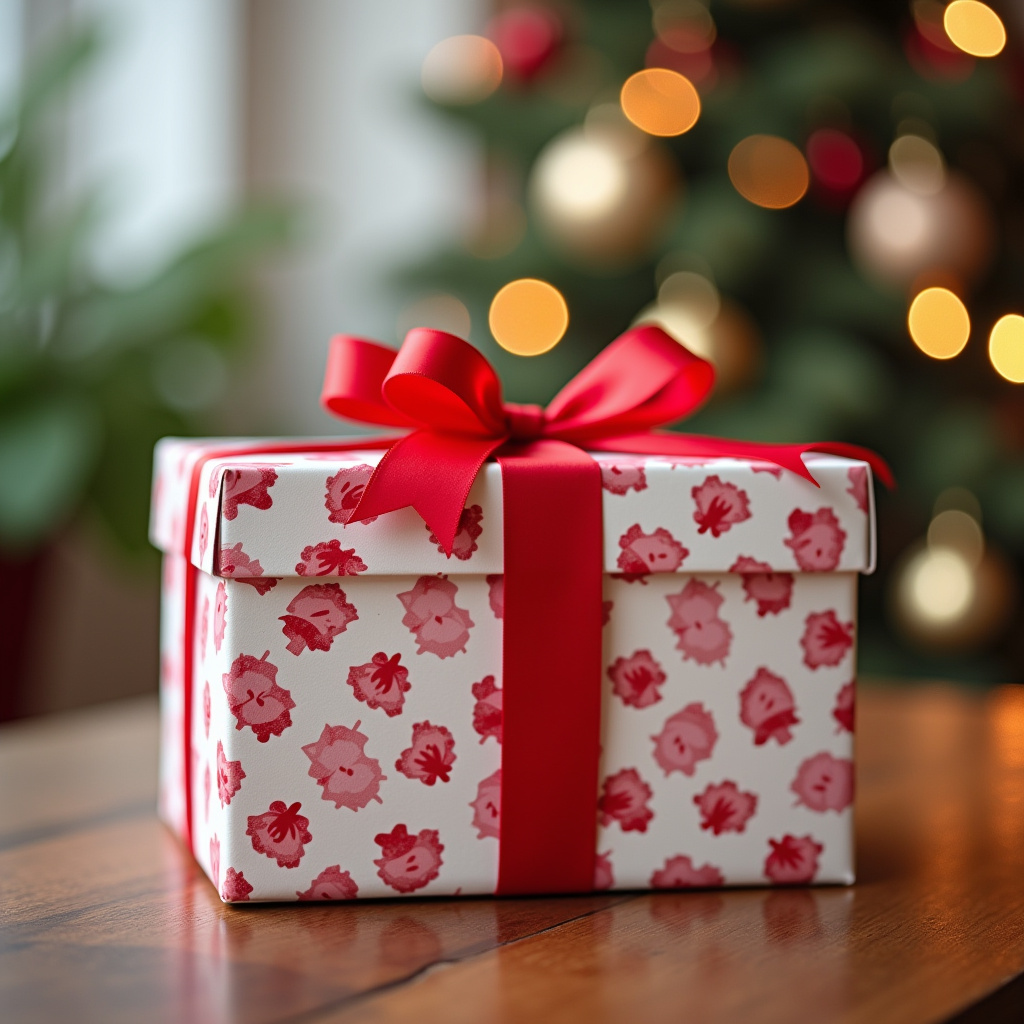
Tip 3: Design for Visual Storytelling (The Unboxing Flow)
How the recipient opens the kit matters just as much as what’s inside. A strong visual flow guides them through the experience you curated in Tip 1.
Why It Works
Presentation is key to making any gift feel special, especially when you are trying to keep costs down. Good presentation turns a simple container into part of the gift itself.
How to Implement It
- Choose Your Vessel Wisely: Ditch the standard gift bag. Use a reusable container: a nice metal tin, a small wooden crate, or a sturdy canvas tote. This container becomes part of the gift, especially for gifts for new homeowners.
- Layering: Place the anchor item (Tip 2) slightly visible, perhaps nestled on top of crinkle-cut paper or natural excelsior. Smaller items should fill the gaps logically.
- The Written Element: Always include a beautifully handwritten instruction card or recipe card that explains how to use the kit.
Expected Results
The recipient has an engaging, tactile experience before they even use the contents. This is the secret sauce that makes a subscription box gift feel personal.
Pro Tip/Advanced Variation
Use color psychology. If the kit is for relaxation, stick to blues, greens, and neutrals. If it’s a cocktail kit, lean into richer tones like deep reds or golds.
Tip 4: Personalize the "Instructions" or "Labeling"
While personalization often means putting someone's name on something, for DIY kits, personalization means tailoring the instructions to their specific personality or situation.
Why It Works
This is where you transform a generic kit into a truly thoughtful gift for elderly parents or a friend struggling with burnout. It shows you see them, not just a general category of gift recipient.
How to Implement It
Instead of generic labels:
- For the Overworked Friend: Label the coffee kit: "Emergency Fuel Station: Do Not Disturb Until Empty."
- For the Homebody: Label the indoor gardening kit: "Project: Grow Something Beautiful (No Pressure)."
- For the Man Who Has Everything: If you’re looking for unique presents for men who have everything, personalize the challenge. If it’s a hot sauce kit, the instruction might read: "Challenge Level: Defy Your Chili Tolerance."
Expected Results
The recipient feels understood, which is the highest form of flattery. This technique works wonders for making even simple cheap personalized gifts feel bespoke.
Pro Tip/Advanced Variation
If you are gifting a kit for a future date (like a Thanksgiving dessert kit), write the instructions to be opened on that specific day, perhaps with a note like, "Save this for the big day—we’ll make this together!"
Tip 5: The "Future Connection" Component
To make your gift last beyond the initial opening, intentionally include an element that prompts future interaction or continued enjoyment.
Why It Works
This moves the gift from a single transaction to an ongoing memory or connection. This is the core principle behind the success of subscription box gifts, but you can mimic it easily in a DIY format.
How to Implement It
- The "Next Step" Coupon: Include a small, self-made coupon redeemable for a future shared activity related to the kit. For a cocktail kit, the coupon is "One Free Mixology Lesson from Me." For a baking kit, it’s "I'll Bring the Coffee While You Bake."
- The Consumable Refill: If you have a very niche item in the kit (like a special tea blend or a unique seasoning), include a small, sealed extra portion and a note: "When you run out, text me for the source!"
Expected Results
The gift keeps giving, either through a shared memory or by providing an easy path to replenishment. This is especially effective for creating unique presents for men who have everything because it offers time and attention instead of just things.
Pro Tip/Advanced Variation
For experiential gift ideas focused on relaxation, include a list of three curated, free online resources (like a specific guided meditation video or a playlist) that perfectly match the mood of the kit.
Putting It All Together: Your Implementation Checklist
Now that you have the five pro tips, how do you start applying them immediately? Think of these tips as layers you stack onto your initial idea.
- Start with the Experience (Tip 1): What activity will they enjoy?
- Set the Budget Anchor (Tip 2): What’s the one quality item that anchors the perceived value?
- Design the Flow (Tip 3): How will it look when they open it? Invest time in the container and presentation.
- Inject Personality (Tip 4): How can the instructions speak directly to the recipient?
- Plan the Follow-Up (Tip 5): What small element ensures the memory lasts?
By focusing on the experience, the anchor, the visual flow, the personalization, and the future connection, your diy gift kits will stop feeling like a budget solution and start feeling like the thoughtful, high-impact presents they truly are. Happy gifting!